If you replace your mobile device, you will need to disable Google Authenticator from your account and set it up on your new device. Follow the steps below to disable and re-enable Google Authenticator. If you lost your phone, you will need to submit a request to have your two-factor authentication cleared.
Step 1
Navigate to the top right-hand corner of the screen to the menu under your brand. Click on “My Account”.

Step 2
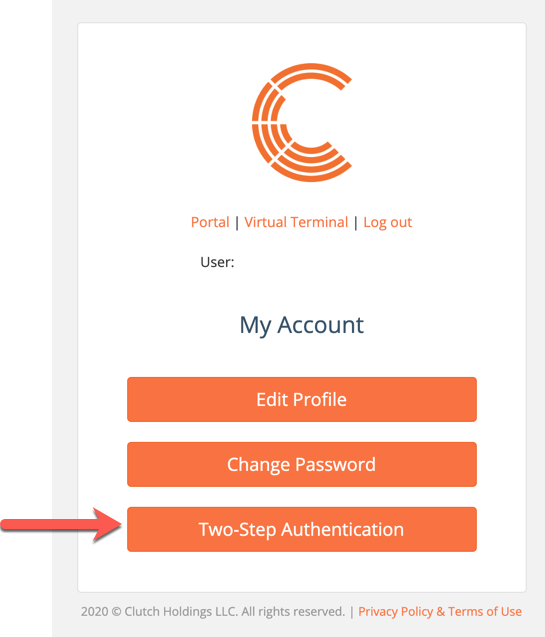
Select the “Two-Step Authentication” button on your account page.
Step 3
You’ll be brought to a page explaining your two-step authentication options. Navigate to “Google Authentication” and click the Disable button.

Step 4
You will need to enter your password to remove Google Authentication from your account. Once your password is entered, click Disable.

Step 5
You will receive a message on the screen informing you that Google Authenticator has been disabled.

Step 6
Additionally, you’ll receive an email confirming that Google Authentication was removed from your account.

Note that before re-adding Clutch to your Google Authenticator App, you’ll need to delete the old Clutch entry that’s been stored. If you now need to reset Two-Factor Authentication via Google Authenticator, you can follow the steps here to set it up on your new device.
